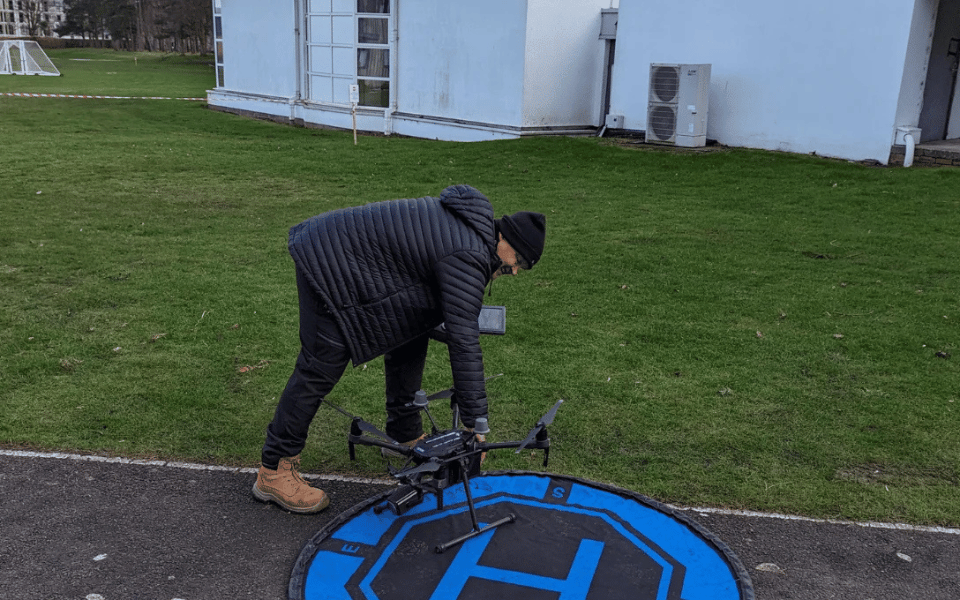

To fix a non-spinning drone propeller, start by checking for visible obstructions and debris. Examine the propellers for damage and ensure they’re securely attached. Inspect the motors, rotating them by hand to detect any abnormalities.
Verify the battery’s charge and connectivity.

Ensure your remote control is properly synced with the drone. Calibrate the compass and IMU if necessary. Check that motors are rotating in the correct direction and flight controller settings match your drone’s configuration.
If problems persist, inspect wiring and connections for any loose or damaged components.
These steps cover the most common issues, but there’s more to explore for trickier situations.

Check for visible obstructions or debris
Before diving into complex troubleshooting, take a close look at your drone’s propellers and shafts for any visible blockages. This simple step can often reveal the root cause of a propeller that won’t spin.
Carefully examine each propeller and its corresponding shaft, looking for any small objects or debris that might be impeding their movement.
As you inspect, pay attention to tiny particles like dust, sand, or even small insects that could have become lodged in the mechanism. These seemingly insignificant obstructions can have a significant impact on your drone’s performance.
If you spot any foreign objects, it’s crucial to remove them with caution.
Use a soft brush or compressed air to gently dislodge loose debris. For more stubborn obstructions, you may need to use tweezers or a small tool to carefully extract them.
Be sure to handle the propellers and shafts delicately to avoid causing any damage during the cleaning process. Once you’ve cleared all visible blockages, try spinning the propellers manually to ensure they move freely.
This initial check can save you time and potentially prevent more serious issues down the line.

Examine the drone propellers
With your propellers now free from obstructions, it’s time to closely inspect each blade for any signs of damage. Look carefully for chips, cracks, or broken edges on the propeller blades.
These issues can significantly affect your drone’s performance and safety. Even small imperfections can lead to imbalance and vibrations during flight.
Next, check if the propellers are installed correctly.
The writing on the blades should be facing up, indicating proper orientation. Ensure they’re securely tightened to prevent any wobbling or unexpected detachment during operation.
If you notice any damage or wear, it’s crucial to replace the affected propellers immediately.
When replacing propellers, always use new ones of the same size and pitch as the originals. Mixing different types of propellers can cause instability and control issues.

Inspect the Drone motors
Motor inspection is the next crucial step in troubleshooting your drone’s propeller issues. To begin, carefully rotate each motor by hand.
As you do this, pay close attention to how they feel.
You’re looking for any unusual grinding or resistance that might indicate a problem. If you notice anything out of the ordinary, it could be a sign that the motor needs further attention or possibly replacement.
Next, examine the motor shafts closely.
Look for any debris that may have become wrapped around them. Common culprits include string, hair, and grass.
These small obstructions can significantly impact your drone’s performance. If you find any such debris, carefully remove it to ensure smooth operation.

Check the battery
If your propeller still won’t spin after inspecting the motors, it’s time to check your drone’s battery. A fully charged battery is crucial for proper propeller function, as low power can prevent them from spinning correctly.
Start by examining your drone’s battery level. Most drones have LED indicators or display screens that show the current charge status.
If it’s low, connect your drone to its charger and allow it to reach full capacity. While charging, ensure you’re using the correct charger for your specific drone model to avoid potential damage.
Once fully charged, reinsert the battery into your drone and secure it properly. Before powering on, check that the battery is providing adequate voltage.
You can use a multimeter to measure the battery’s output if you’re comfortable with basic electronics. Compare the reading to your drone’s specifications to confirm it’s within the recommended range.
If the battery is fully charged and providing the correct voltage, but your propellers still won’t spin, the issue may lie elsewhere. Consider factors like temperature, as extreme cold can affect battery performance.
If problems persist, you may need to replace the battery or seek professional assistance.

Verify remote/transmitter connectivity
The next crucial step in troubleshooting your drone’s propeller issue is to verify the remote control’s connectivity.
Ensuring proper communication between your drone and its transmitter is essential for smooth operation, including propeller rotation.
First, check that you’ve followed the manufacturer’s guidelines for syncing your drone with the remote control.
This process can vary between models, so refer to your user manual for specific instructions. If you’re unsure, you may need to re-sync the devices to establish a strong connection.
Next, examine the remote control’s battery status. Low or depleted batteries can lead to connectivity issues, potentially causing your drone’s propellers to remain stationary.
Replace the batteries if they’re running low, or recharge them if your remote uses a rechargeable power source.
If you’re still experiencing problems, try moving to an area with less interference.
Electronic devices, Wi-Fi networks, and other radio signals can sometimes disrupt the connection between your drone and its remote. Find an open space away from potential sources of interference to test if this resolves the issue.

Clean the motors
Cleaning your drone’s motors is a critical step in resolving propeller issues and ensuring drones optimal take off performance. Over time, debris like sand and small particles can find their way into the motor housing, causing friction and preventing the propellers from spinning freely.
If you suspect this is the case with your drone, it’s time to take action. To clean the motors, you’ll need to carefully disassemble the affected arm.
This process may vary depending on your drone model, so consult your user manual for specific instructions.
Once you’ve gained access to the motor housing, inspect it closely for any visible debris. Use compressed air or a small brush to gently remove any particles you find. Be thorough but gentle to avoid damaging any delicate components.
After cleaning, reassemble the arm and test the propeller. If it spins freely, you’ve likely solved the problem. If not, you may need to repeat the process or consider other potential issues.

Inspect wiring and connections
After thoroughly cleaning your drone’s motors, you’ll want to turn your attention to the wiring and connections.
This step is crucial in diagnosing and fixing a propeller that won’t spin. Begin by carefully examining all the wiring throughout your drone.
Look for any visible signs of damage, such as frayed or exposed wires, which could be causing short circuits or power interruptions.
Next, inspect the circuit boards, particularly the flight controller. These components are vital for transmitting signals to the motors.
Check for any loose connections, burnt areas, or dislodged components. If you notice anything amiss, you’ll need to address these issues before proceeding.
Pay special attention to the motor connections.
Ensure that each motor is securely and correctly connected to the drone controller. Loose or faulty connections here can directly impact propeller performance.
If you’re unsure about the correct wiring configuration, consult your drone’s manual or the manufacturer’s website for guidance.

Calibrate the compass and IMU
Once you’ve checked the wiring and connections, it’s crucial to recalibrate your drone’s compass and Inertial Measurement Unit (IMU).
These components play a vital role in your drone’s flight stability and orientation. Improper calibration can lead to various issues, including propellers that won’t spin correctly.
To begin the calibration process, consult your drone’s manufacturer instructions. Each model may have specific steps to follow.
Generally, you’ll need to place your drone on a flat surface and power it on. The calibration process often involves rotating the drone in different directions to allow the sensors to adjust.
For compass calibration, you might need to rotate the drone horizontally and vertically.
The IMU calibration may require keeping the drone stationary on a level surface. Some drones have built-in calibration modes accessible through their companion drone apps or remote controls.
It’s important to perform this calibration in an area free from magnetic interference. Avoid metal objects, electronic devices, and power lines. Be patient during the process, as rushing could lead to inaccurate calibration.
Once complete, test your drone to ensure the propellers spin correctly and the flight is stable.

Verify motor direction
Proper motor rotation is crucial for your drone’s stability and performance.
To ensure your drone operates correctly, you’ll need to verify that each motor is spinning in the right direction as specified by your flight controller. This step is essential for achieving balanced flight and preventing potential crashes.
Start by referring to your flight controller’s documentation to determine the correct rotation direction for each motor.
You’ll typically find a diagram showing which motors should spin clockwise and which should spin counterclockwise.
Once you have this information, power up your drone and carefully observe each motor’s rotation.
If you find that a motor is spinning in the wrong direction, don’t worry – it’s an easy fix for brushless motors.
Simply swap any two of the three wires connecting the motor to the electronic speed controller (ESC). This will reverse the motor’s rotation direction.
Be sure to double-check the rotation after making any changes.

Check flight controller settings
When troubleshooting a drone propeller that won’t spin, it’s crucial to ensure your flight controller settings align with your drone’s motor configuration.
Your flight controller needs to be programmed correctly for the specific number and arrangement of motors on your drone.
If these settings are incorrect, it can lead to propellers not spinning or spinning erratically.
First, access your flight controller’s configuration software. Look for the motor layout or configuration section. Here, you’ll need to select the appropriate motor arrangement that matches your drone’s design.
Common configurations include quadcopters (4 motors), hexacopters (6 motors), and octocopters (8 motors).
Next, verify that each motor is assigned to the correct channel on your flight controller. This ensures that when you give input commands, the right motors respond accordingly.
Double-check that the motor numbering in your software matches the physical layout of your drone.
If you’ve recently changed your drone’s frame or motor arrangement, make sure you’ve updated these settings. Incorrect motor mapping can cause propellers to remain stationary or spin in the wrong direction.
Conclusion
You’ve now explored several potential causes for a non-spinning drone propeller. If you’ve followed these steps and your propeller still won’t spin, it’s time to consider professional repair.
Remember, proper maintenance and regular checks can prevent many issues. Don’t forget to consult your drone’s manual for model-specific troubleshooting.
With patience and careful inspection, you’ll often be able to identify and fix the problem, getting your drone back in the air quickly and safely.
